For those of us that are ready, lets get started.
First choice is which of the 9 sizes to cut. On the pattern tissue you will notice there is a table that shows the finished garment's measurements. It looks like this:
After reviewing the table, I decided to make the 38" bust size. Then, I went around each piece with a texta marking the line I needed to cut out. I can't remember where I read this hint, but by goodness it works!!!
Oh yeah, thats right - its on the pattern!!!
Now we are going to make a muslin of the jacket portion of the pattern so we can check and adjust the fit if need be. I normally don't worry about this step because I don't have a lot of the fit issues that other people have. If I account for my boobs and my butt when I cut out the fabric, I know I can adjust to fit my waist by taking it in. But notice how this pattern doesn't have any darts in the front bodice piece? This means there will be a loose fit with a clean minimal look, but thats not going to suit everyone - especially people like me with bigger boobs.
I am also going to be doing adjustments to the cape pieces to come closer to the look of the garment that I am trying to emulate. Just to refresh your memory:
But we'll look at what we can do with the bodice first.
Cut out the Bodice Front and Bodice Back pieces from your muslin fabric. Mark the darts and the fold lines on both pieces, and the button holes on the front piece.
Speaking of buttons, I'm going to add a few more, because by the time I make the front more fitted, it will need more buttons to keep it closed. Draw two parallel lines on the pattern piece running from one buttonhole to the other button hole. I'm going to add three more button holes, so using a ruler, I divided the space in half, and then each half in half. Because the button holes are on an angle, you then need to make marks up the other parallel line at the same increments.
Goodness I hope that makes sense! Here's a photo!
By the way, just in case you're wondering, I am going to cover making these as bound buttonholes.
Oh, and don't forget (like I almost did) to fold the pattern piece on the fold line and transfer the button holes you just drew to the attached facing.
Now to do some sewing - first job is always the darts (sigh!). Sew them up using a longer stitch length so they are easy to unpick, and press them. And while you are pressing things, press the fold line on the bodice fronts.
Pin the fronts and the backs together at the side seams and the shoulder seams, leaving the pointed bits free. They form part of the collar. Sew the seams together using that longer stitch length once more. NOTE THAT THE SEAM ALLOWANCE IS 1/2"!
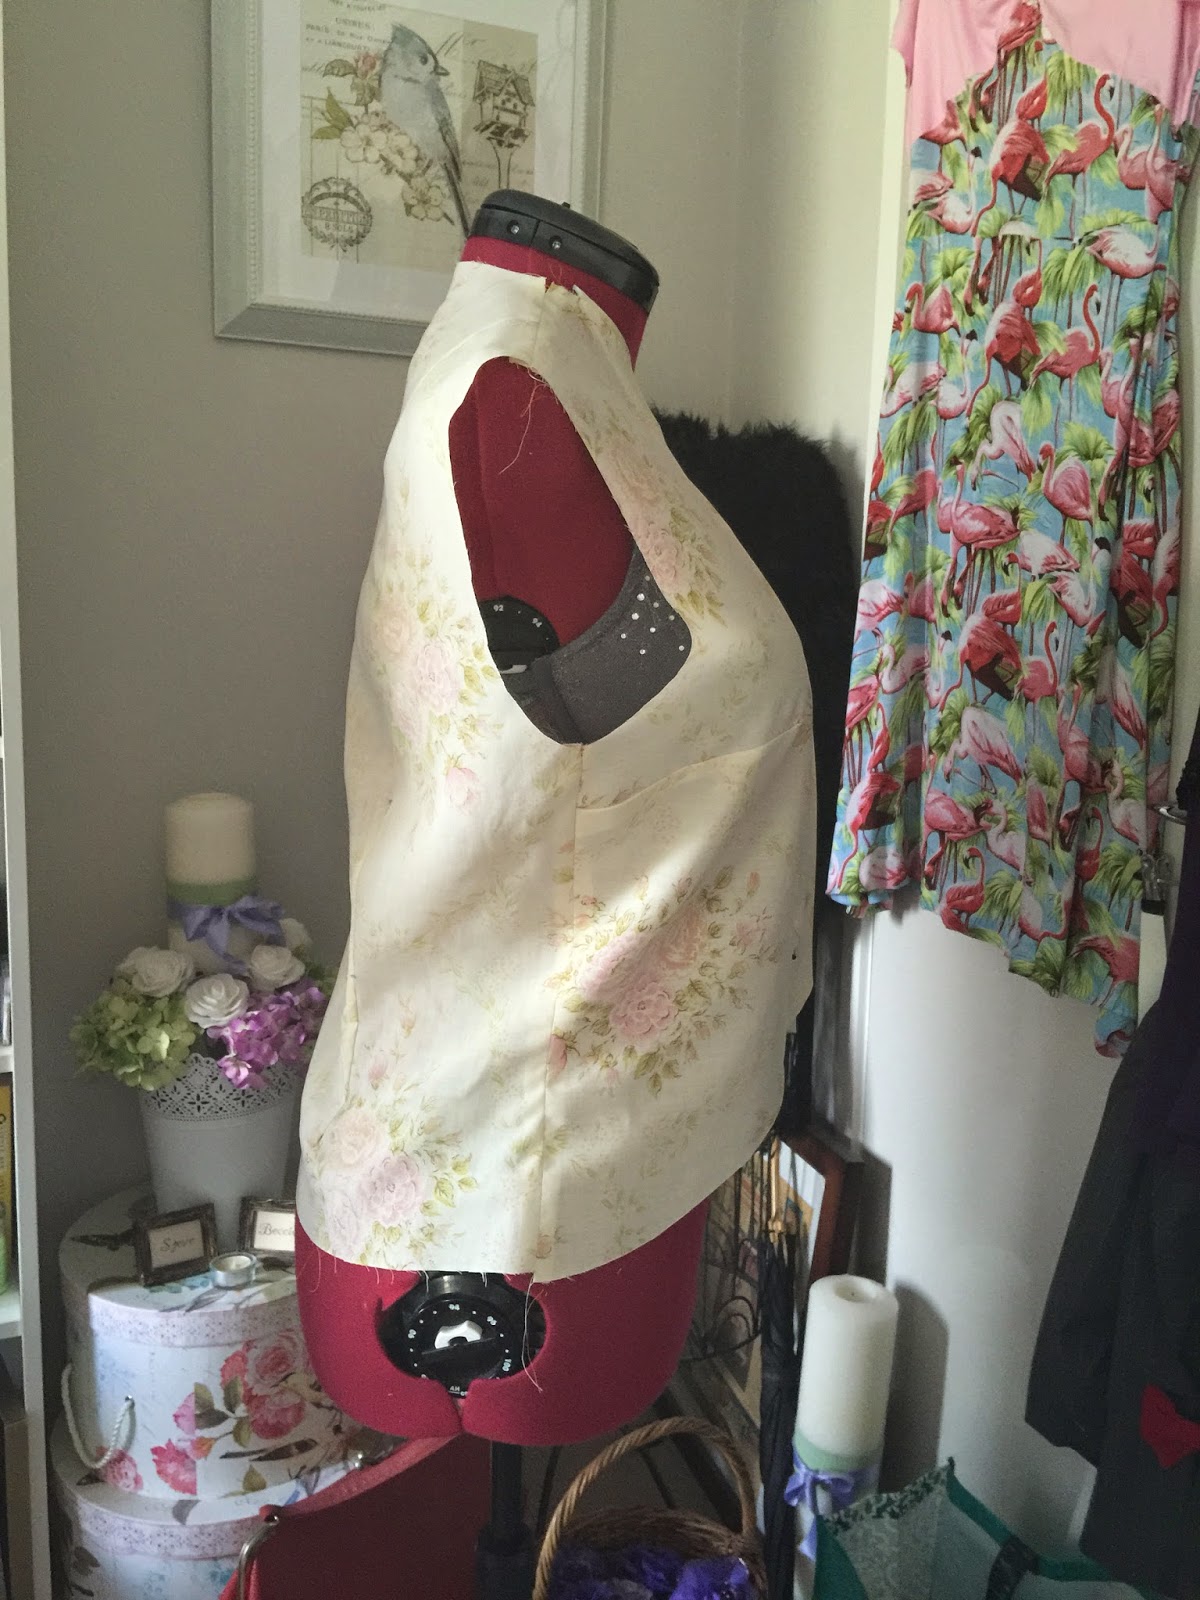
Press the seams open, and you are ready to assess the fit. I'm going to use my headless helper, but if you don't have one just put it on yourself. You might need someone to help you though.
Pin it together so the buttonholes form Xs. Mine looks like this.
You can see that it hangs straight down from the point of the bust. I don't like that, my waist disappears and I look bigger than I am. So to fix this, I've decided to make darts. Other options are to take the side seams in a little, or add a cinch belt at the back. Experiment and see what works best for you.
I find it almost impossible to do the same thing on each side, so I just pin one side, draw texta marks to make the shape, then trace the shape onto the other front piece. Then sew both (with a longer stitch length) to make sure it works properly.
If you aren't going to make adjustments to the cape back, you can unpick it all now and mark your changes on your pattern. But if you are, read on!
The back of my inspiration capelet is almost a complete half circle, so I need to extend the cape pieces. Starting with the back piece, I've drawn a line out from the shoulder. Then I also need to redraw the cape hem. This is complicated, cause its kinda maths-y. I need to work out a radius for the circle. I measured the length from where the new line comes off the shoulder, to the edge of the pattern piece. It measured 13"
Then continue to measure in a straight line along the shoulder to where it meets the collar corner. The whole length measures 22.5".
So that means 22.5" is our radius. Using your tape measure, mark a curve with the 22.5" radius.
I have decided to lop the bottom of the circle off to make it not as long, so I drew that freehand.
Now for the front cape piece. It really is as simple as matching up the notch at the neck, and tracing the shape of the piece added to the back, to the piece added on the front!
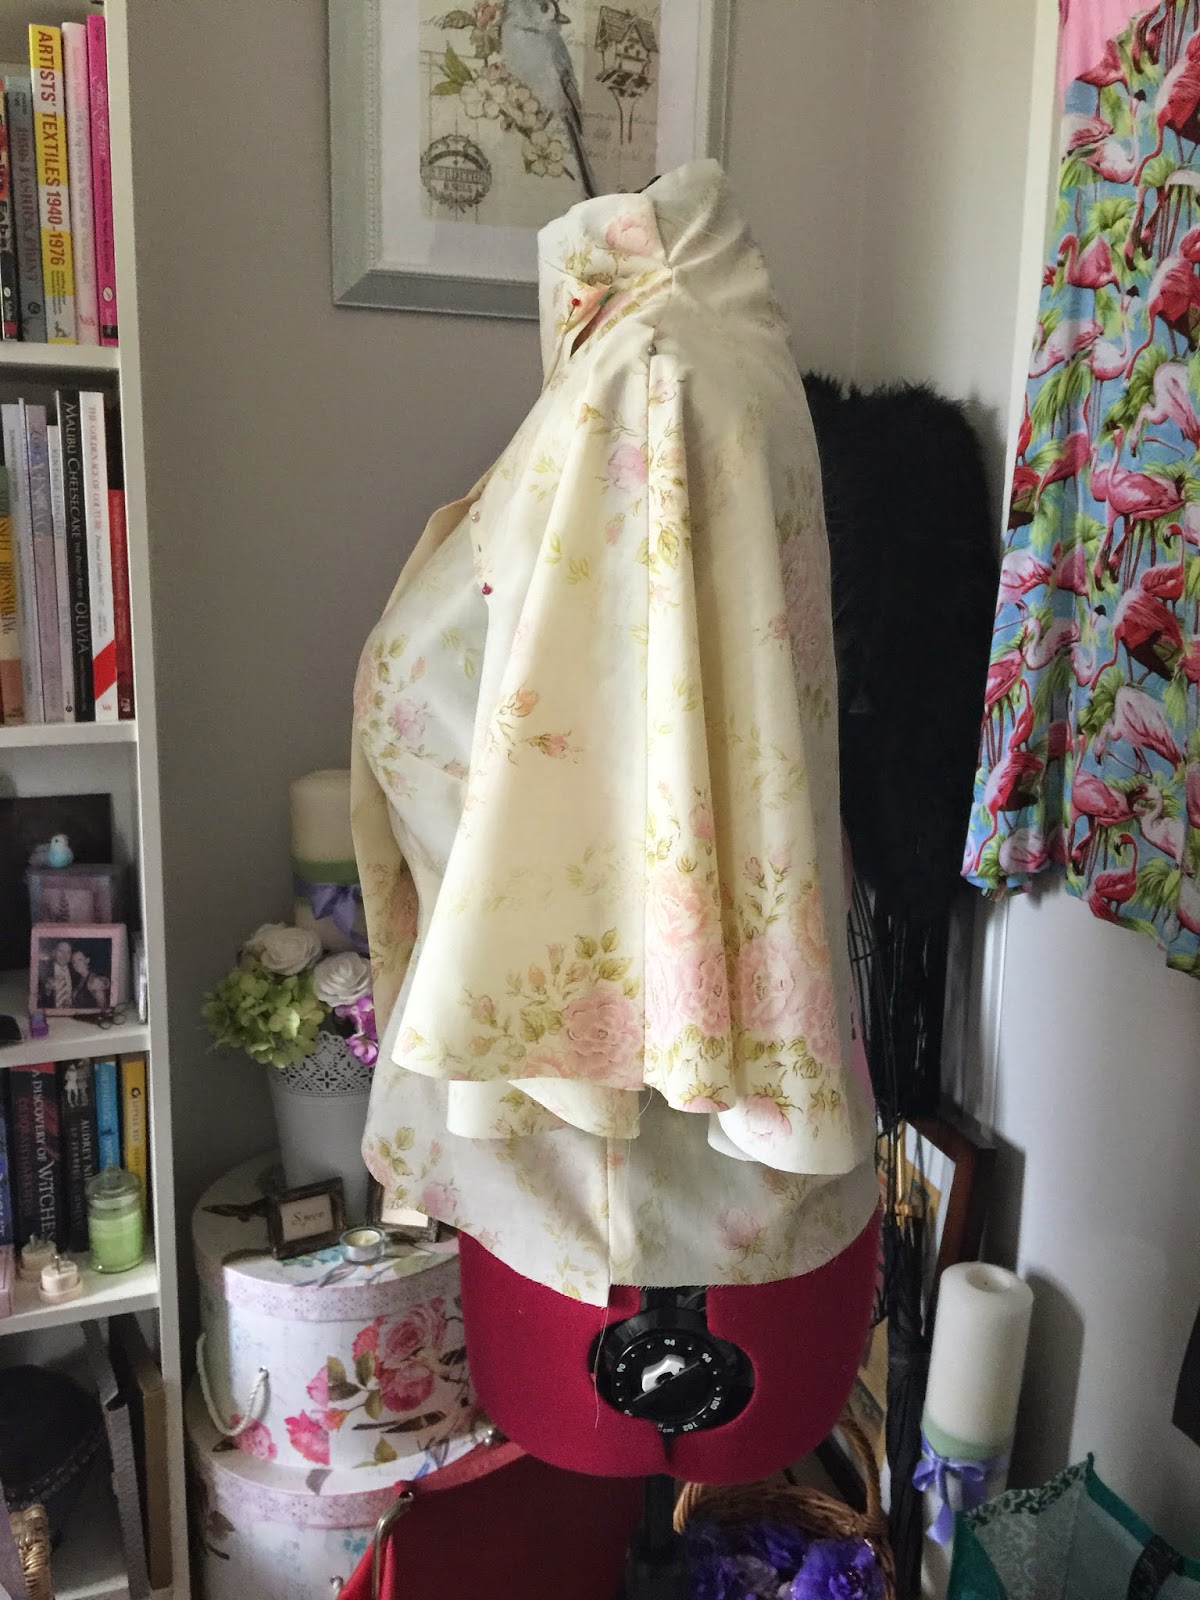
Ok, now we get the muslin fabric out again and cut out the two pieces we just made. I sewed mine together along the shoulder seam and pinned them onto the bodice. I mean, I could have sewed them on but I was feeling lazy. This works just as well!
I'm pretty happy with it, but I don't really like how the 'sleeve' sits higher at the point of the shoulder seam. Its between and 2 and 3 inches. So I'm going to add a bit of extra length and redraw the curve on the front and back pieces.
Beccie
xxx
PS. As well as covering how to do bound button holes in the sew-along, I will also be lining my capelet, and sewing in some hair canvas. Neither of these things is covered in the original pattern instructions, so if you want to join in, grab some lining fabric and some hair canvas.
PPS. Note that not all fabrics are going to need hair canvas. If your fabric is cotton or lighter, just use iron on interfacing. If your fabric is gaberdine or heavier you can choose to use hair canvas.


I'm curious what the purpose of the hair canvas is, is it for structure or warmth? My capelet will be wool, so I'm unsure if I should use it or not?
ReplyDelete