Thursday, February 26, 2015

Capelet Sew-along : Part 3 : Bound Button-holes

Duh-Duh-DUUHHH!!!!

Yep, bound button-holes.  Nothing to be frightened of really, just a bit fiddly.  I have confidence in you!!!

If you don't want to do bound ones, you don't have to. The top button-hole is actually in a seam, so we can ignore that one.  The bottom one, and any others you've added can either be done as a bound button-hole now, or you can leave it and do machine ones when the rest of the construction is done.

If you want to do machine ones, you'll have to wait for the next post before you continue.  But why not try?

Anyhow, after looking at my muslin, I realised that the button-hole at the bottom, and the ones I had added are at the opposite angle to the one in the seam at the top.  This might not bother you, but it will bother me.  So I've just redrawn them.


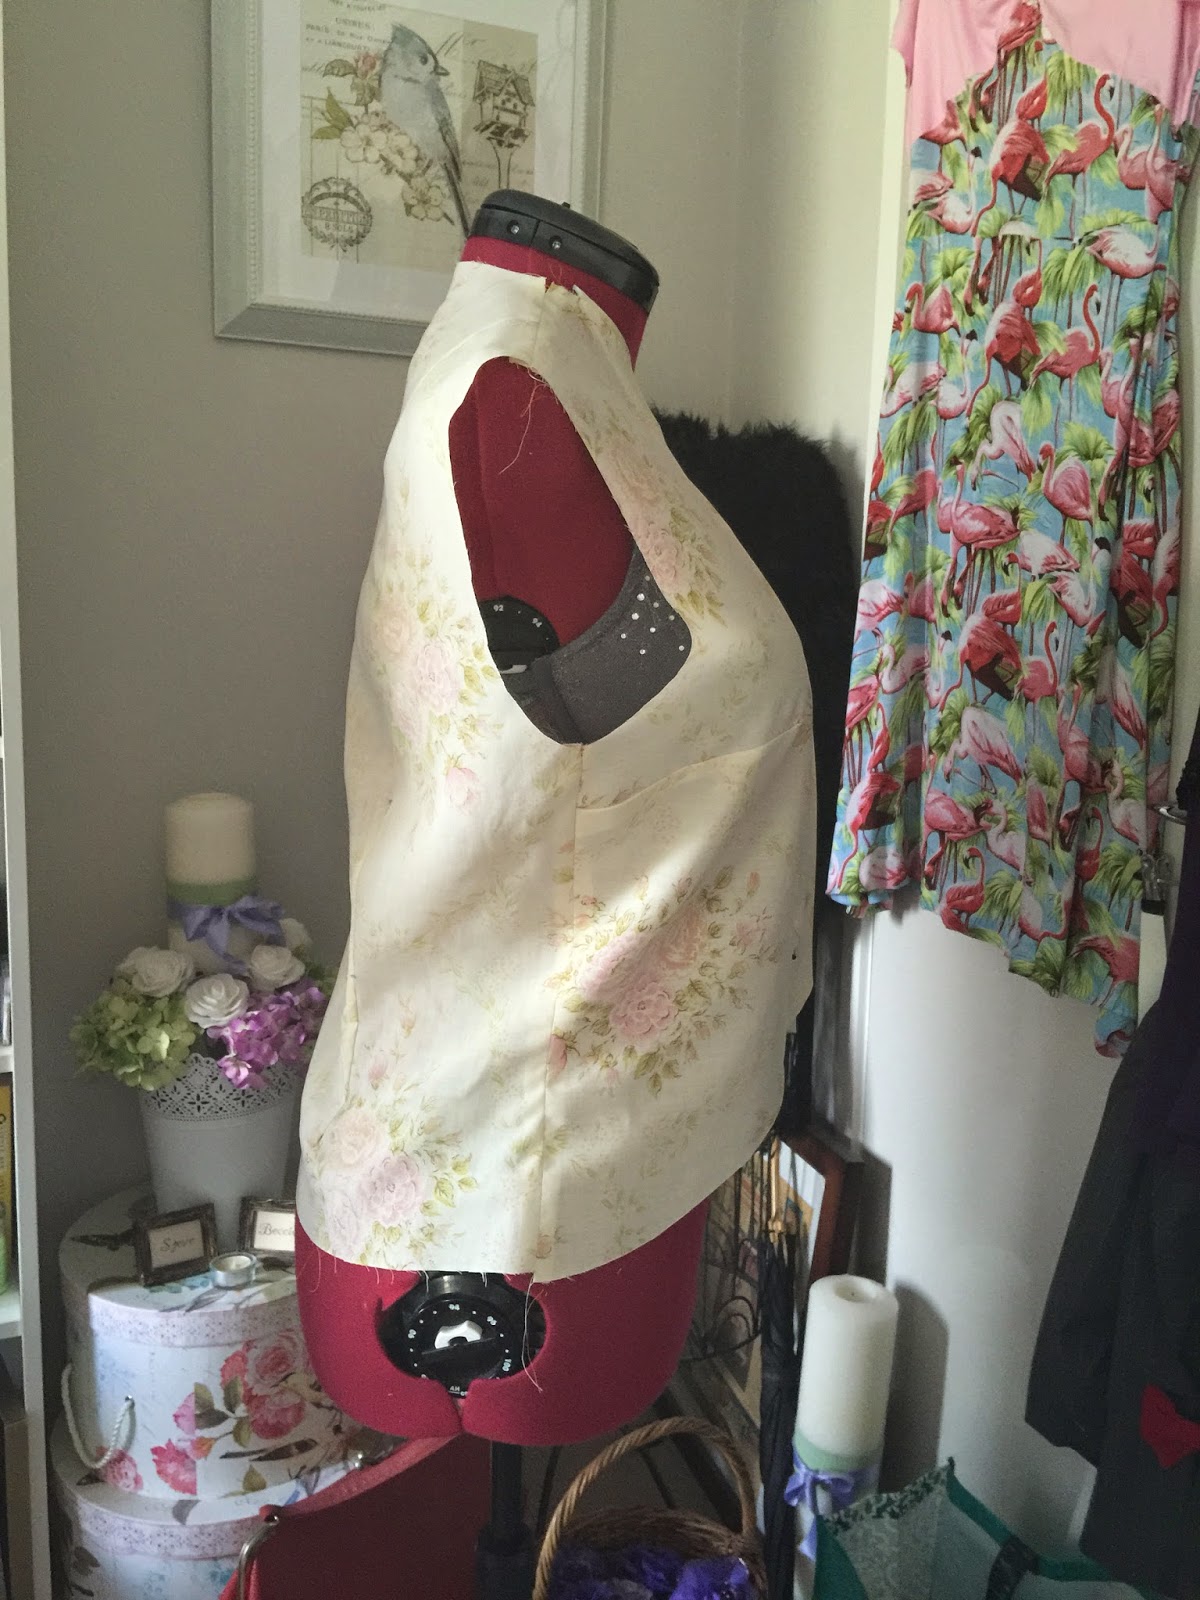
So now we need to mark up the bodice fronts, which requires you to select the correct bodice front piece.  EVERY TIME I have to do this, I get out a jacket or a coat from my wardrobe to make sure I get it right.  The bodice piece you need to be working on is the right front piece.


Now, on the RIGHT SIDE of the fabric, mark up the button hole lines from the pattern piece.


The first step in making a bound button-hole is making the 'window' which holds the lips of the button-hole.  But before we can do that we need to work out how big our button-hole needs to be.  So I hope you already have your buttons ladies...

First up, measure the width of your button.


And then the height of your button.


Add these two measurements together and you have the width of your window!  Mine will be 1.5"

FOR THOSE OF YOU THAT HAVEN'T DONE BOUND BUTTON-HOLES... I want you to practice these techniques on some scrap fabric before you do them on your capelet.

To make the windows, you need however many 3"x3" squares as you have windows (I need 8).  For the way I'm going to show you how to do these, you need to make the squares from your fashion fabric. 

In the centre of these squares on the wrong side, you need to draw a rectangle that is the width you measured long, and 1/2" wide.  If you are more experienced in fiddly things like this, you can make it 1/4" instead.


These then need to be pinned onto the right side of the bodice, right sides together, where the button-holes are going, making sure that the lines you've drawn on the squares line up with the ones on the bodice.


And now we FINALLY get to sew something!  Using a short stitch length like 1, sew the squares to the bodice by stitching the lines that form the rectangle, pivoting with your needle down in each corner.  Oh, and don't start in a corner, start half way along one of the long sides, and then overlap slightly when you come back to that point.  Using the short stitch length means you can be really precise on the corners.


The next step is to cut within the rectangles so you can turn the squares through to the other side.  To do this I rip a small way in the centre with my seam ripper.


Then I grab a small pair of sharp scissors and cut the rectangle down the centre, then in a V shape to each corner.  Cut as close as you can to the stitching without cutting the stitching.


Then push the squares through the holes you made, and turn the bodice piece over.  It looks like a whole bunch of tissue boxes!!!


Now we need to press it all flat so our windows look all purdy!

By the way, don't be tempted to trim anything at this point.

The windows on the piece of the bodice piece that becomes the attached facing, they stay as windows.  The windows on the actual bodice need to have lips.  There are two ways you can go about this. One way is to use two more squares per buttonhole to make the lips, and the other way is to use the square you've already sewn on to make the lips.  I'm showing you the second way, because its quicker and less fiddly (I think).

Conveniently, we have something that is half the size of the window - the bits we cut from the centre!  Fold the square over the window and press it, and the stitched bit up.


Fold the side of the square over the ironed up bits, then press and pin.


Congratulations, thats one done!  Now repeat for the others.

Once they are all done, turn the bodice over.  Last step is to put in some stitching to secure the lips where they are. We are going to Stitch-in-the-Ditch!

Using a short stitch length again, sew a line in the seam line around the rectangle.

This isn't easy.


I only did one of mine really well, but the others aren't bad.  Besides, the only person who is going to notice is me.... well, now you guys.... but, you know.

Now we can trim on the back side.  I've chalked in the seam and fold line - anything that gos beyond or over this line needs to be lopped off.


Your bound button-holes are DONE!!!

Give yourself a pat on the back, and pour yourself a stiff drink.

Beccie
xxx


Sunday, February 22, 2015

The Valentine's Day Giveaway WINNER ANNOUNCEMENT

So oopsy - I was supposed to do this yesterday.... but I got distracted by sewing and forgot all about it.  So I did the draw this morning instead!

For those that might not have seen me draw a competition, I don't use the normal random number generator.  That's boring.  I use my own personal random number generator.  My side kick - Miss Stella!


This morning, she stood patiently by while I sorted the numbered ping-pong balls so I had only 1-54 in the bucket.


Then we walked out onto the grass to get ready for random-number generation done the fun way!


I shook the bucket of balls around and then launched them up and onto the grass.

Because I do this myself, I have never managed to get a decent photo of the balls in the air...

Stella ran around a bit, nosed at a few of the balls, made her choice and did a runner with it.  Typical dog.


I chased it down and got it out of her mouth, and the winning number was...


So, now I'm back on my computer, I have counted down the comments to get to the 46th comment, and the winner is:

LYRIC!!!

Honey, I already have your address from the SEWsterhood of the Travelling Pattern, so this package will be on its way to you very soon.

Thank you all so much for entering.  I read each and every one of your comments and they made me so happy and proud.  I want to give special mention to Marko - a young man who loves himself, and is ignoring gender roles to embrace his love of sewing and fashion design.  I'm sure I'm not the only person in this group who is right behind you, supporting you.

Keep showing love to yourselves every day - you deserve it!

Beccie
xxx

Friday, February 20, 2015

Capelet Sewalong : Part 2 : Making A Pattern For The Lining

When I announced the capelet as the next sewalong, there were a lot of requests in the group to add a lining.  It wasn't part of the original pattern, but there is no reason why it can't be a lined capelet with a bit of ingenuity.

Since there are already facing pieces we can cheat!

Got to love cheating!!

But first, you need to unpick your muslin, and any changes you made to it, you need to make on your paper pattern.  This is mostly going to be on the bodice pieces, but you might have done other things...

Then, cut out all the pieces from your fashion fabric, but not the interfacing piece.  We'll use that another day.

Now, lets look at the lining piece by piece

Bodice Front Piece
I've folded the attached facing in, and put the front hem facing over the top of the pattern piece so we can get an idea of what it will look like.


All we need to do here is cut a piece from the point of the V at the top, down to where the front hem facing piece ends

By the way - don't cut your pattern piece, just fold it

Bodice Back Piece
Here is the piece with the back hem facing laid over the top.


This one is super simple.  We're just going to cut the same bodice back piece out BUT put the edge of the pattern that should be on the fold, 1/2" away from the fold.  I made the mistake of not doing this once and ripped my lining when I reached forward with both arms.  Lining needs give.  Fair enough this is more important in things that have sleeves, but its a good habit to get into.

Cape Front Piece
Here is the piece with the front neck facing laid over the top.


Another super simple one - just cut the same shape piece out from your lining fabric.


You will notice that there is no bottom facing.  We need one, so you need to make one.  Its pretty simple and you can make it from anything you want.  It needs to be the same shape as the bottom of the cape, and the same width as the bodice facings (mine are 2 1/2").

Cape Back Piece
Here is the piece with the back neck facing laid over the top.


This is pretty much the same deal as the cape front.  Cut the exact piece from your lining fabric, and make a bottom hem facing.


Awesome!  We've cut out all our fabric!  Lets get on with the sewing!!

Beccie
xxx


Saturday, February 14, 2015

Its Valentines Day - Lets Have a GIVEAWAY!

Hello everyone!

Remember last year I had a Valentine's Day giveaway?  Well this year I'm doing it again, and the message is still the same.


I think there is not enough emphasis in the world on loving yourself, respecting yourself, and supporting yourself.  So many negative messages bombard us every day from everywhere - every one trying to convince us that we aren't good enough just the way we are.


ITS ALL RUBBISH!!! 

Of course we are good enough just the way we are - we are PERFECT just the way we are!  And its about time that we loved and respected ourselves enough to ignore everything that tries to tell us otherwise.


So in light of that, I'm having a giveaway as encouragement to fall in love with you.

Here is your encouragement - 5 metres of gorgeous tropical cotton, a roll of ric-rac, six lovely buttons, and a vintage pattern to make a blouse, shorts, and two lengths of skirt!

If I was you I'd make the blouse and the skirt!

And all you have to do to be in the draw to win is comment below and tell me what you love about you.  Its that easy.

I'll start.  I love my curves.  I have big boobs, a curvy round butt and a tiny waist and I love it.  I love my beautiful blue eyes.  I love my long, strong fingernails.  I love my ability to love and accept others for their differences.  I love my creativity.  I love my ability to sew.  I love that I've created this blog and this community of beautiful women.  I love me.

The competition is open to everyone all around the world, and will run until midnight on the 19th of February.  I will announce the winner next Saturday.

Love to you all

Beccie
xxx

Thursday, February 12, 2015

Capelet Sewalong : Part 1 : Creating a Muslin

Hooray everyone!  Welcome to the Decades of Style 1930s Capelet Pattern Sew-along!!!  I'm hoping everyone has their pattern, fabric, and something to make a muslin with.  But if you don't its not too late - there is plenty of time to catch up.  You can find the pattern here.


For those of us that are ready, lets get started.

First choice is which of the 9 sizes to cut.  On the pattern tissue you will notice there is a table that shows the finished garment's measurements.  It looks like this:


After reviewing the table, I decided to make the 38" bust size.  Then, I went around each piece with a texta marking the line I needed to cut out.  I can't remember where I read this hint, but by goodness it works!!!

Oh yeah, thats right - its on the pattern!!!


Now we are going to make a muslin of the jacket portion of the pattern so we can check and adjust the fit if need be.  I normally don't worry about this step because I don't have a lot of the fit issues that other people have.  If I account for my boobs and my butt when I cut out the fabric, I know I can adjust to fit my waist by taking it in.  But notice how this pattern doesn't have any darts in the front bodice piece?  This means there will be a loose fit with a clean minimal look, but thats not going to suit everyone - especially people like me with bigger boobs.

I am also going to be doing adjustments to the cape pieces to come closer to the look of the garment that I am trying to emulate.  Just to refresh your memory:


But we'll look at what we can do with the bodice first.

Cut out the Bodice Front and Bodice Back pieces from your muslin fabric.  Mark the darts and the fold lines on both pieces, and the button holes on the front piece.

Speaking of buttons, I'm going to add a few more, because by the time I make the front more fitted, it will need more buttons to keep it closed.  Draw two parallel lines on the pattern piece running from one buttonhole to the other button hole.  I'm going to add three more button holes, so using a ruler, I divided the space in half, and then each half in half.  Because the button holes are on an angle, you then need to make marks up the other parallel line at the same increments.

Goodness I hope that makes sense!  Here's a photo!


By the way, just in case you're wondering, I am going to cover making these as bound buttonholes.

Oh, and don't forget (like I almost did) to fold the pattern piece on the fold line and transfer the button holes you just drew to the attached facing.


Now to do some sewing - first job is always the darts (sigh!).  Sew them up using a longer stitch length so they are easy to unpick, and press them.  And while you are pressing things, press the fold line on the bodice fronts.

Pin the fronts and the backs together at the side seams and the shoulder seams, leaving the pointed bits free.  They form part of the collar.  Sew the seams together using that longer stitch length once more.  NOTE THAT THE SEAM ALLOWANCE IS 1/2"!


Press the seams open, and you are ready to assess the fit.  I'm going to use my headless helper, but if you don't have one just put it on yourself.  You might need someone to help you though.

Pin it together so the buttonholes form Xs.  Mine looks like this.


You can see that it hangs straight down from the point of the bust.  I don't like that, my waist disappears and I look bigger than I am.  So to fix this, I've decided to make darts.  Other options are to take the side seams in a little, or add a cinch belt at the back.  Experiment and see what works best for you.


I find it almost impossible to do the same thing on each side, so I just pin one side, draw texta marks to make the shape, then trace the shape onto the other front piece.  Then sew both (with a longer stitch length) to make sure it works properly.


If you aren't going to make adjustments to the cape back, you can unpick it all now and mark your changes on your pattern.  But if you are, read on!

The back of my inspiration capelet is almost a complete half circle, so I need to extend the cape pieces.  Starting with the back piece, I've drawn a line out from the shoulder.  Then I also need to redraw the cape hem.  This is complicated, cause its kinda maths-y.  I need to work out a radius for the circle.  I measured the length from where the new line comes off the shoulder, to the edge of the pattern piece.  It measured 13"


Then continue to measure in a straight line along the shoulder to where it meets the collar corner.  The whole length measures 22.5".


So that means 22.5" is our radius.  Using your tape measure, mark a curve with the 22.5" radius.


I have decided to lop the bottom of the circle off to make it not as long, so I drew that freehand.


Now for the front cape piece.  It really is as simple as matching up the notch at the neck, and tracing the shape of the piece added to the back, to the piece added on the front!


Ok, now we get the muslin fabric out again and cut out the two pieces we just made.  I sewed mine together along the shoulder seam and pinned them onto the bodice.  I mean, I could have sewed them on but I was feeling lazy.  This works just as well!


I'm pretty happy with it, but I don't really like how the 'sleeve' sits higher at the point of the shoulder seam.  Its between and 2 and 3 inches.  So I'm going to add a bit of extra length and redraw the curve on the front and back pieces.

Beccie
xxx

PS.  As well as covering how to do bound button holes in the sew-along, I will also be lining my capelet, and sewing in some hair canvas. Neither of these things is covered in the original pattern instructions, so if you want to join in, grab some lining fabric and some hair canvas.

PPS.  Note that not all fabrics are going to need hair canvas.  If your fabric is cotton or lighter, just use iron on interfacing.  If your fabric is gaberdine or heavier you can choose to use hair canvas.