
Sadly that something is darts. The ones on the bodice fronts, and the bodice back. Lets get them out of the way shall we.

I really really dislike sewing darts. I can't tell you why! Its just a sewing chore that I really really can't stand. I don't mind telling you that I procrastinated an awful lot sewing these 8 darts. It took me over an hour and a half. I think that might be some kind of record!
But their done now - so on with the sewing!
Grab your finished hair canvas pieces and line them up with the bodice fronts. Every side where you attached bias, machine sew the bias to the bodice front WITHIN the seam allowance so the stitching won't be seen later.
You will then need to do a little bit of hand stitching to secure any dart flaps that sit over the top of the hair canvas.

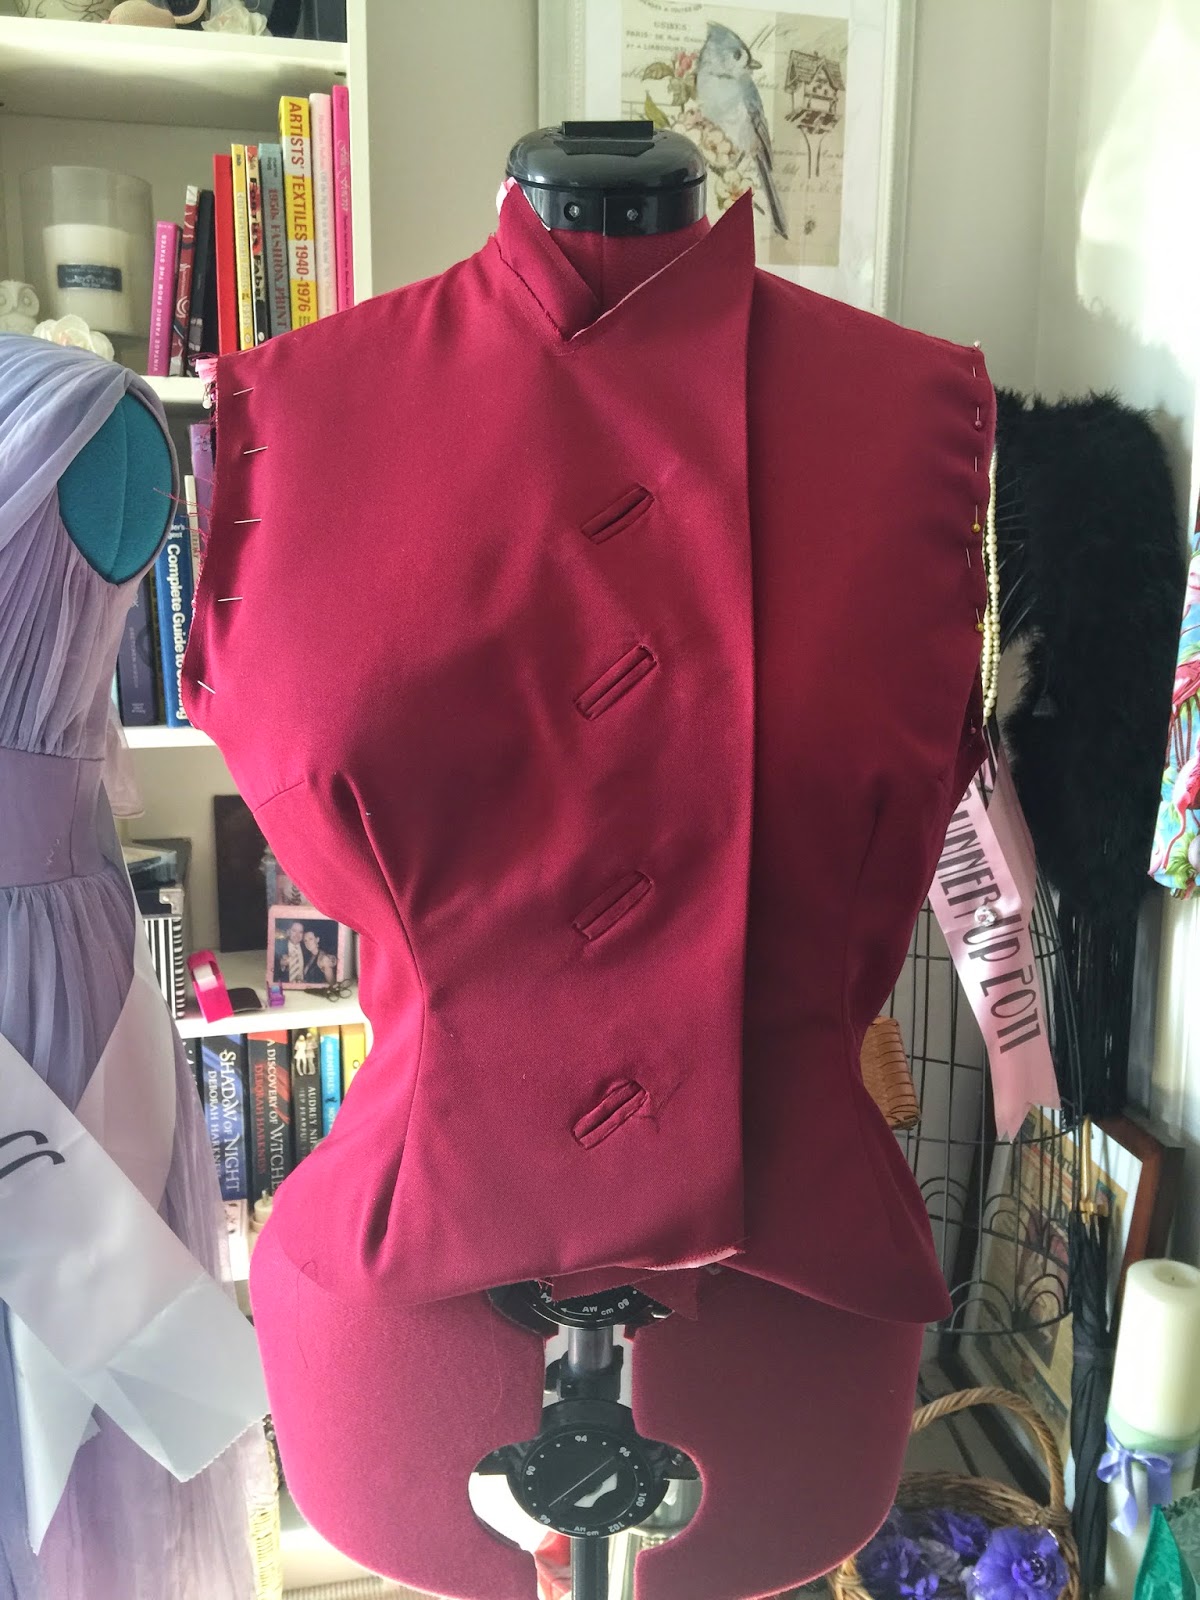
Pin the bodice front pieces to the back and the shoulders and the side seams, and then sew together, and press.
Now we can move on to putting in the lining. Take your front bodice lining pieces start by sewing the darts. Then take the back bodice piece. As well as sewing the darts, there are extra lines that need to be sewn, since we positioned the pattern fold line 1/2" from the fold of the fabric to allow for movement in the lining.

From the neckline, sew a line of short stitches half an inch from the fold, down 2.5". Then do the same thing from the hem, up 2.5". I'm using a stitch length of 1 so its strong.

Here is the hem of my lining pieces now the darts and the extra lines have been sewn and I've pressed it

(its all blown out cause my lining is black)
Then sew the front and back bodice lining pieces together at the sides and shoulders.
Ok, so now we are going to attach the facings to the lining, before we attach the lining to the bodice. I'm going to do mine so it looks all pretty, using some lovely matchy satin bias.
First job is to sew the front bodice facing pieces to the back bodice facing piece.

Then attach the bias to the facing along the top edge of the facing on the right side.

Now we are going to attach the facing piece to the lining. Pin it down along the bottom edge.

Don't worry that the facing piece isn't quite as long as the lining piece...

The first step to attach the facing to the lining is to sew along the hem, but within the seam allowance. We don't want this line of stitching to be seen in the finished garment. The second step is to sew along the bias - obviously this is going to be seen, so make it neat!

Now for the fun part - lets sew the lining we've just finished to the bodice we made earlier. Turn the bodice right way in, and then with right sides together, pin the lining to the bodice along the bottom edge, and sew.
Clip the curves before turning through and pressing.

With the bodice turned through, pin the lining to the neckline, and the arm holes.


We won't be covering the neckline with facing for a while yet, so in the mean time, secure the lining to the bodice by running a line of stitching within the seam allowance so it won't be seen in the finished garment.

Now we need to deal with the arm holes. This is the way they will be permanently finished, so it needs to be pretty. The instructions that come with the pattern say to use bias strips from your fashion fabric. But I'm going to use the bias I used earlier, I've just ironed out one side of it.
Pin the bias to the right side of the arm hole, making sure you have all the layers together.

Sew the bias on - I used the fold line of my flattened bias as a guide.

Then fold inwards and hand sew the bias down. (I've pinned mine to hand sew later).

Thats it! The bodice is done! The unfinished edges will be finished later after the cape is added.
Don't you feel great that you now have something that looks like a capelet!?!
Beccie
xxx
Not sure it looks like a Capelet yet Beccie.... But a garment, yes definitely! lol
ReplyDeleteHow complex, I'm in awe... per usual :-)
ReplyDeleteCheck out that waistline!!!!!
ReplyDelete