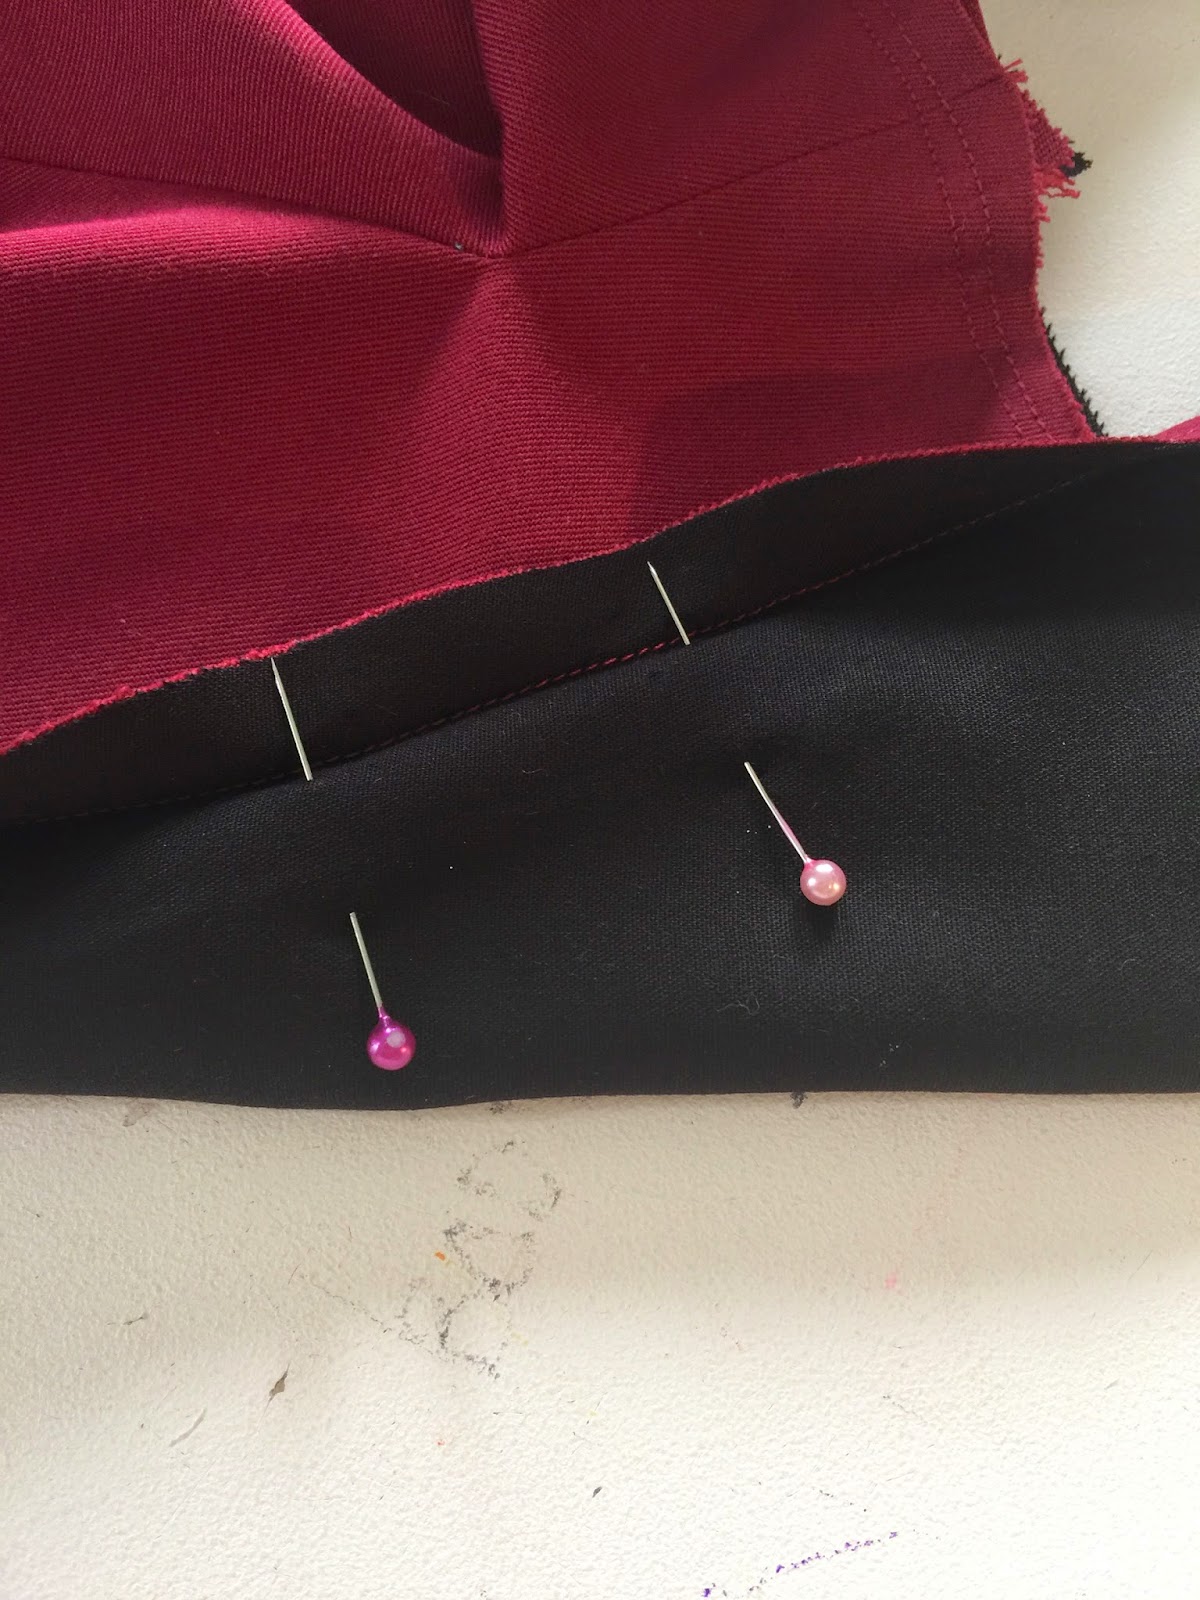
If you don't have the circles showing where to attach the cape marked on your bodice, mark them now.
This is the line where we will attach the cape. But before we can do that, we need to prepare it. Remember that portion of the front of the cape where we stitched a line on the seam line rather than within it? Well, we are going to use that stitch line as a guide to iron the flap under.
I'm using plenty of steam to maintain the slight curve. There is also one more thing we need to mark - the space that becomes a button hole. Rather than marking it with chalk, I am going to use pins. Remember that this is a guide to where the button hole should go, not the size of the button hole. If you can't remember how wide to make the gap, measure one of the bound button-holes you made earlier. (I sure can't remember!!!)
Also, remember that if you need to increase the size, you need to make sure the button-hole itself is still centred in the same spot. My buttonhole needs to be 1.5" rather than 1", so I have added half an inch to either side. Transfer your marks to the lining side of the cape.
Now to stitch the cape on!
With the right side of the bodice up, and the right side of the cape down, line the pressed edge that you did earlier with the marks you made on the bodice. Fold the flap out and pin the cape on.
The final mark on the bodice should line up with the end of your fold line.
Make sure that when you are pinning the cape on, the lining is nice and neat underneath, and the attached facing is out of the way. Oh, and the line of stitching is going to be visible on your bodice lining, so maybe change the bobbin thread to a matching colour - thats what I'm doing anyway.
By the way - have fun man-handling this through your sewing machine...
Use the line of stitches you made on the capelet as a guide of where to sew - but sew just to the left of it so the line of stitches don't show when you turn it the right way up. And don't forget to leave the space for the button hole!!!
Phew! That was some stressful sewing! How did you go?
Next job is to do the collar facing. Take the collar facing pieces (called neck pieces), and sew the fronts to the back, clip the corners and press. Make sure to mark the button-hole we need to leave open onto the front piece.
Pin the facing onto the neck/collar area of the capelet. When pinning it on, you will be pinning along the top edge of the attached facing, then along the top edge of cape collar, then back along to the top edge of the opposite attached facing.
At the point where the attached facing becomes the front collar we will be pivoting around a corner. That pivot point needs to be as close as possible to the seam line where the cape is attached to the point of the bodice. I have marked that point with a chalk mark, and have pinned the facing accordingly.
(You will notice at this point that I am swapping to my other capelet. Thats because I made a bit of a boo boo, and constructed the capelet the hard way. I want to show you the easy way, not the hard way, so I've switched to my other one. Oops).
Take a deep breath and sew the facing on (remembering to leave the button-hole open). Clip corners and thick seams, and turn through.
Pin the facing down around the back of the neck, and now lets deal with the facings down the front. We are simply going to put bias on the edge of the facing so we can hand sew it to the lining later.
To finish the bottom of the facing, press the bodice front up, then lay the facing over the top and match up the bottom to the fold line.
AND THEN YOU'RE FINISHED!!!!!
When I have finished all the extra hand sewing I gave myself on the gaberdine capelet, I will update this post with photos of it too.
I'm kinda thinking that about now you are wondering about the GIVEAWAY portion of this post - well, if you send me a photo of your finished capelet before midnight on Monday the 6th of April (yes, you have all Easter to sew if you want to), you will go into the draw for a
$50 DECADES OF STYLE VOUCHER!!!!!
I will announce the winner when I post the round-up showing photos of all of us wearing our glamorous creations. So get sewing ladies!!!
Beccie
xxx


Looks great. I lost the excitement to make this when I did the muslin. Not sure what set me off of it. Then I started a brand new job and I now have no time!! Boo.
ReplyDeleteWell done! Looks stunning, I can't wait to see full outfit pics of how you style it.
ReplyDeleteComplex! Still wrapping my head around the bound button holes. This is absolutely gorgeous. You are such a stylish talented lady!
ReplyDeleteOoh I love that blue
ReplyDeleteOh bless your heart, I will have this finished in time!
ReplyDelete