

An awesome jacket, but still just a jacket. I want a SUIT!
The accompanying skirt has 8-gores, with the pieces wider at the bottom than they are at the top, so you end up with a lovely A line skirt. I wasn't sure how this was going to work out with my stripey fabric however. Pattern matching is all well and good, but sometimes near impossible. So I decided to concentrate on getting the front and back to line up and leave the rest in the lap of the gods.
I cut out each gore so that the centre of the piece was a vertical stripe, and then bound the edges with satin bias tape. The same as the stuff I've used in the jacket. Can I just say you use waaaaaaaaaay more of that stuff than you think you will!!!

Looks pretty on the inside!
I then sewed the pieces together so I had a front, a back, a right side, and a left side (with a zipper in it). Then I sewed them all together and...
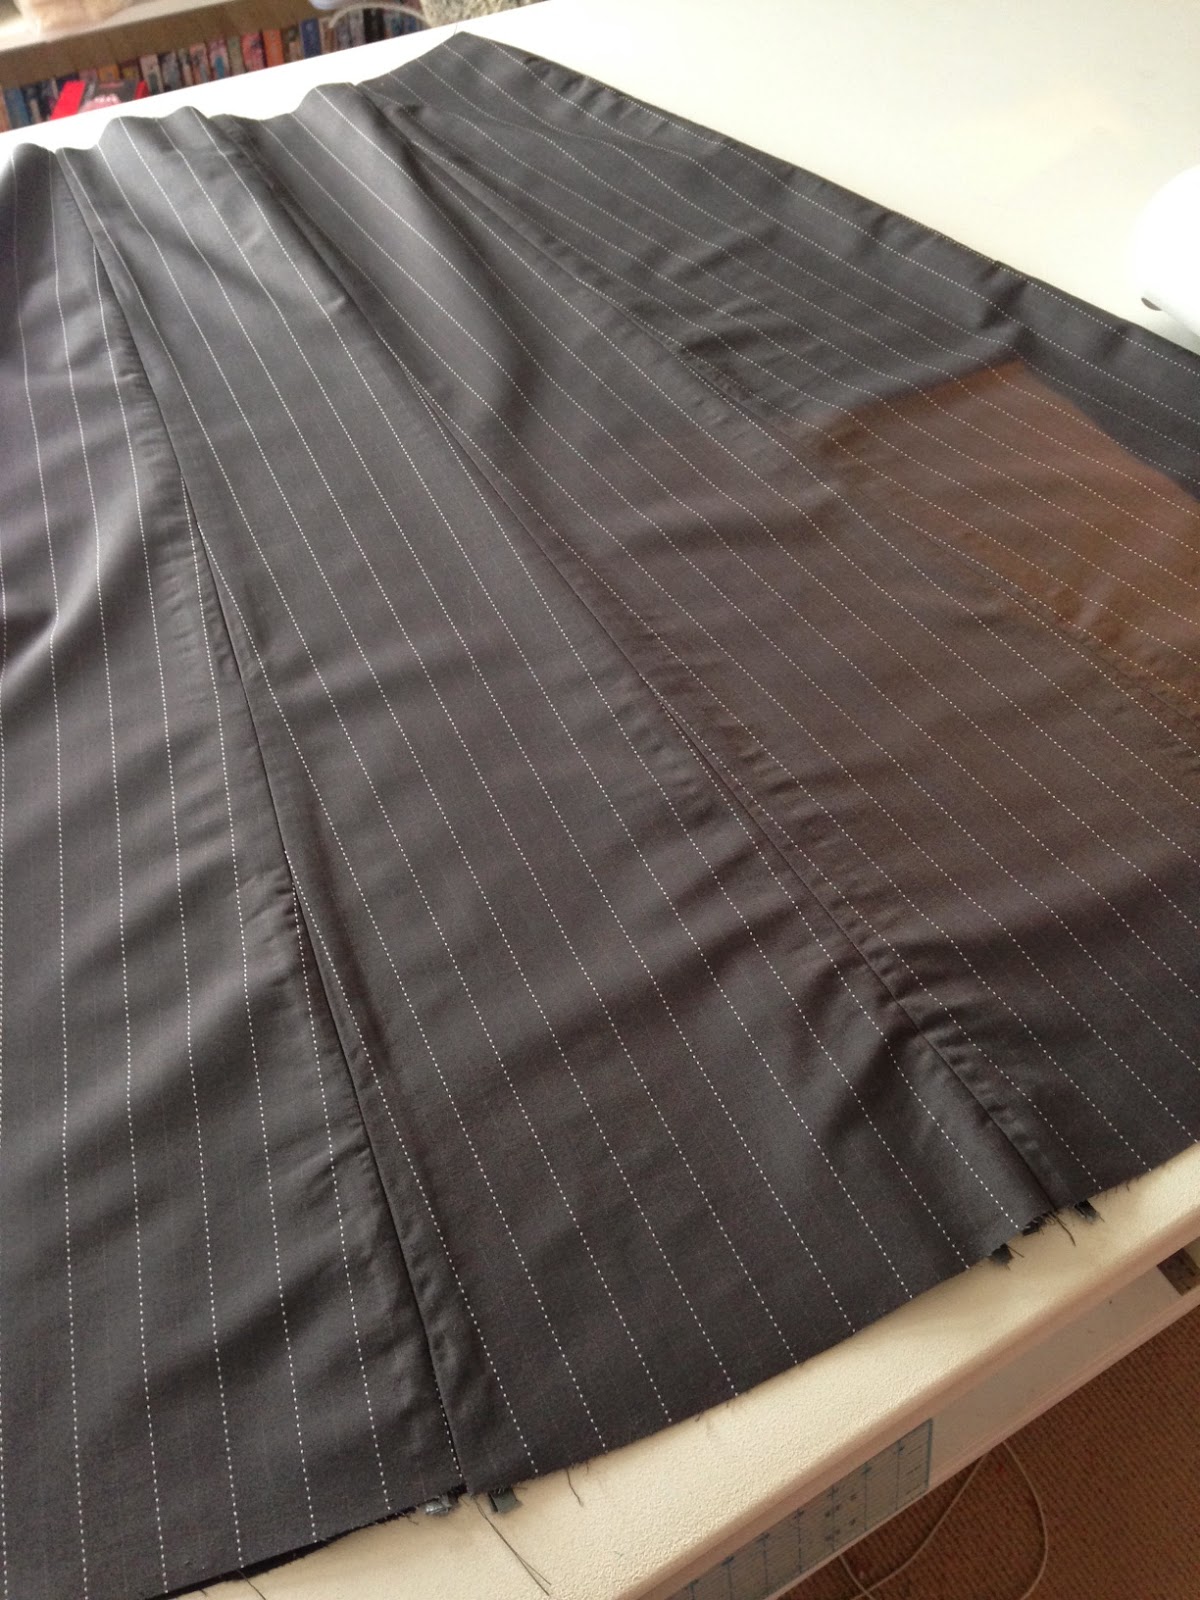

All the lines line up pretty well - even on the pieces I didn't try to line up!!! HOORAY!!!
Then came the waistband. I didn't use the pattern piece, as I'd had to make an adjustment to the size of the skirt. Normally I would just cut out a rectangle, but I didn't have a piece wide enough to cut one with the stripe running horizontal, so I thought I would cut two halves... but then I realized that the front piece needed to be longer than the back piece so there would be an overlap for a press-stud or something...

Thank goodness for handy scraps of paper to scribble on!
That all sewed up easily and even went on to the skirt easily, and left me with a nice little overlap.

Please excuse awfully chipped nail polish... its on my to-do list I promise!
For the hem, I folded it up and steamed out the excess (gotta love wool!), and sewed on yet more bias tape. I haven't hand sewed it yet, but I haven't finished all the hand sewing on the jacket yet either... I hope to get that done this week. And here is the skirt!

I had to clip this on my headless helper for the photo, so when I put this on its slightly too big, but not so much that its a problem. I should have realised that it was going to be a fraction big when I measured for the waistband... obviously wasn't paying enough attention at the time... I might yet take the waistband off and make it fit better...
The suit all together looks like this!


Yes, the back of the jacket needs an iron... or a steam or something
So that's it for making the Raspberry Darling suit, but its not time for the photoshoot yet... not until I finish the hats!!! (note: I'm not making hats, just adjusting others to be more appropriate. I wish I could make hats... one day...)
Beccie
xxx
It is so awesomely cute! I can not wait to see the photo shoot.
ReplyDeleteThanks Melody. I'm excited to see the outfit finished too!
DeleteWell done. As usual. :-) I'm pretty impressed how the pinstripes matched without lining them up actually. And I will be delighted to see the photo shoot pictures!
ReplyDeleteJust a question: do you use the seam-binding because it's a woolen tailored garment or do you use it also on cotton dresses? I was just wondering...
I was impressed that the pinstripes lined up too Doris... just lucky I guess :)
DeleteAnd in regards to the seam binding. I do do this on all of my woolen garments to finish the seams, but on cotton dresses I either use my pinking shears, use french seams, or fold the seam allowance in half and sew it down. I did a post about the ways I finish seams... I'll find it for you
Here it is!!! I go to all this effort because I don't own an overlocker :)
Deletehttp://sewretrorose.blogspot.com.au/2012/08/but-i-dont-own-overlockerserger.html
Wow Beccie! It looks amazing! Beautiful job. Can't wait to see more photos :)
ReplyDeleteThank you! I'm looking forward to putting it all on for the first time too :)
Delete