

I'm sorry, I don't know who took this lovely photo, but when I find out I will credit them and add a link to their website if they have one.
Miss Ruby wanted me to make her a specific dress, and after getting a few inspiration photos from her, I decided that this pattern was just perfect:

I sewed up the bodice and instantly fell in love with the collar!

As did the 71 people who clicked like on my Facebook page...
But the sleeves.... they had some issues.
It sometimes happens that patterns come with small issues. With this one, it was like the sleeve piece was for a completely different garment! The sleeves piece was for a full length sleeve (which is great, gives me plenty of options) but one side was longer than the other - so a dart was missing - and the sleeve cap was huge, there was no way that it could be eased in...
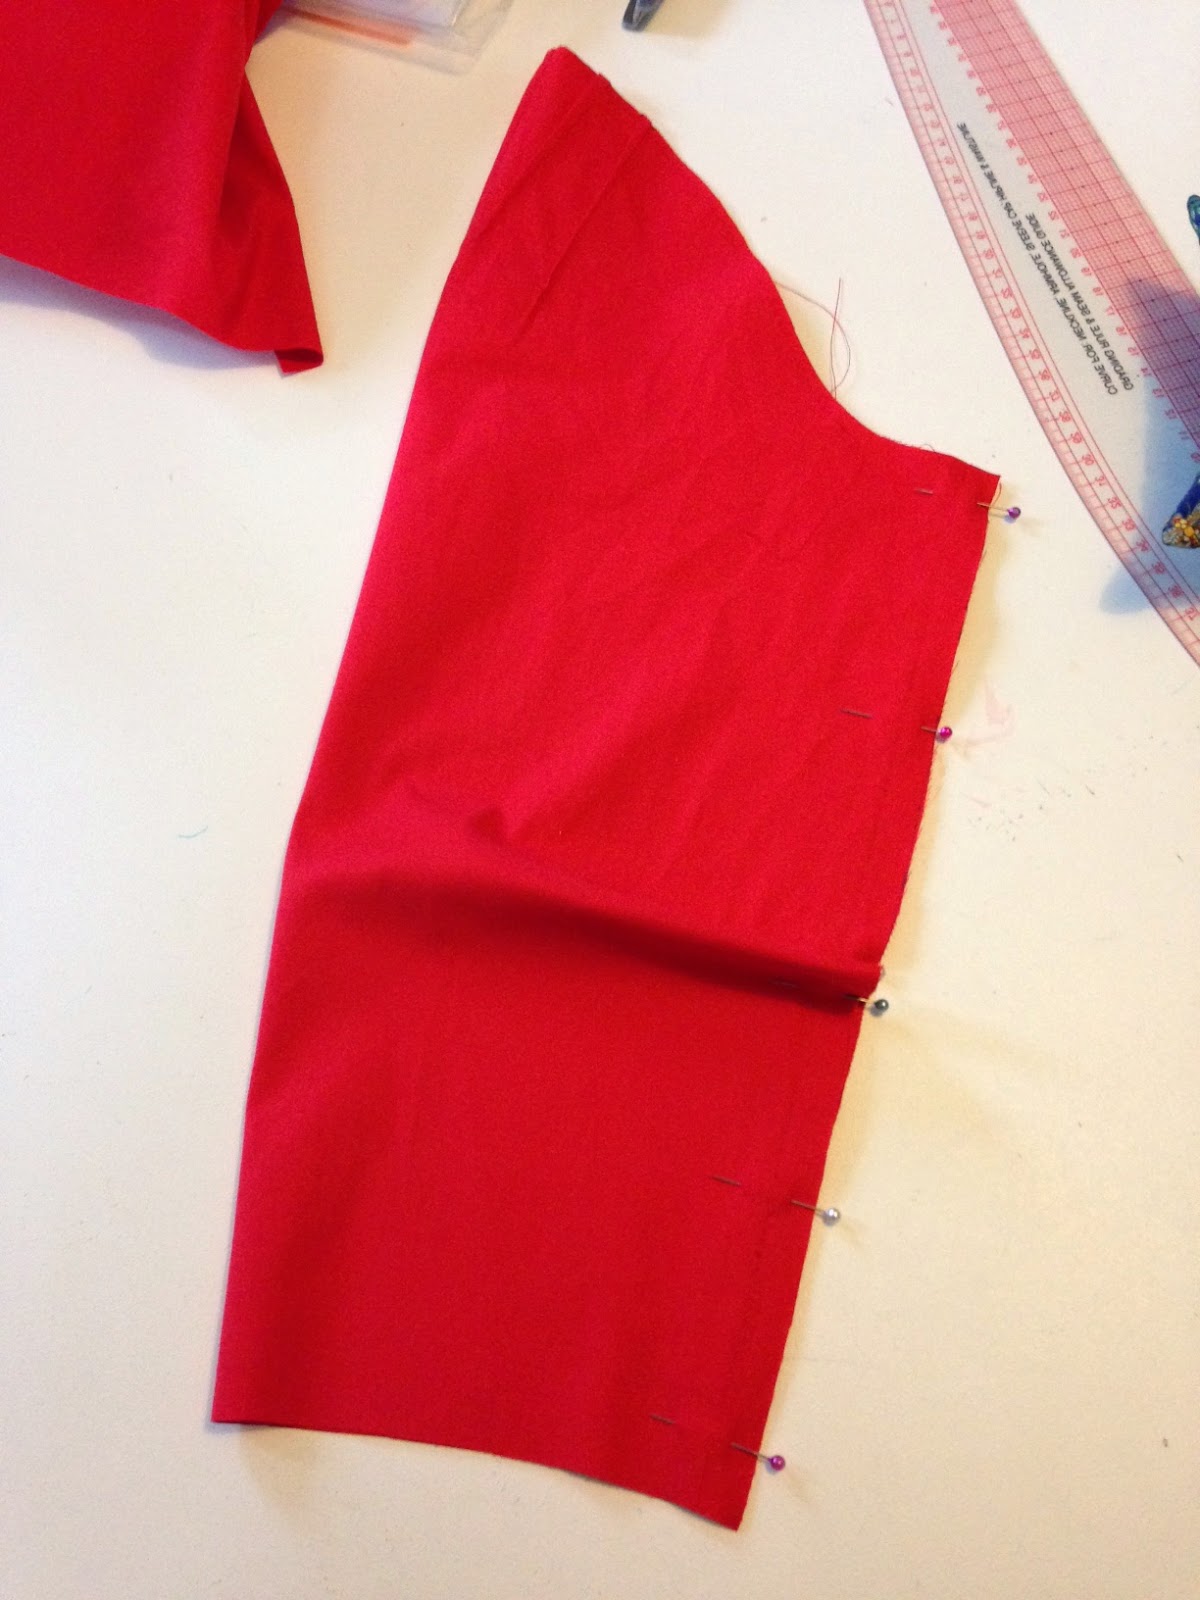
So I added a dart...

and I chopped some height off the sleeve cap
I don't know if this is the 'proper' thing to do, but it worked
The sleeve cap was now only a wee bit too large for the arm hole, so I concentrated the gathers at the shoulder for what I think is a pleasing effect.


And I got on with the skirt... which involved bound button holes...

part way through the process
and a proper gathered hem

I know its hard to see with all the red on red...
The gathered hem was a total revelation. I had never done one before because I thought it would be a complete pain in the behind, but it was the opposite!
Just in case you aren't sure what a gathered hem is, I'll explain it. When you turn the hem of a circle skirt (or other curved skirts) up, the bit you turn up is longer than the bit you are turning it too, so it won't lie flat. To fix this you run a gathering stitch around the edge (I did mine in quarters) of the skirt, and use that to gather the turned up bit in so its the same length as the bit you are turning it to.
Make sense?
Clear as mud, right!
But seriously, next time you are hemming a curve, try this.
Anyway, back to the dress. After a fair bit of hand sewing, I had a finished dress!!!

Miss Ruby loves it, and I can't wait to see a photo of her wearing it! It has also inspired the next person in my commission dress queue, and her dress will be similar but with a few modifications... and then I think I want one too, in some lovely wool suiting. I think it will be the perfect winter work dress!
Beccie
xxx
Dashing dress! I made this up a couple of years back. I remember the skirt pieces being odd, but not the sleeves... interesting!
ReplyDeletehttp://makeitfakeit.wordpress.com/2011/10/04/polyester-girl/
I know just what you are talking about! The inside skirt piece at the front does not go all the way to the end of the bodice piece. I think that was intentional though so there isn't a full double layer of fabric at the front, just enough to protect modesty and what-not. Does the fabric you used still stink???
DeleteLovely work as usual!
ReplyDeleteStunningly beautiful dress. I love the collar, it's so elegant.
ReplyDeleteWhat a beautiful dress!! You have magical hands!
ReplyDeleteI absolutely love this. Hope she posts a picture
ReplyDeleteSSB. https://facebook.com/sassysewingbees
Me too Sassy!
DeleteIt's just beautiful!! I'm off the the store now for some red suiting fabric....
ReplyDeleteThis fabric is red cotton sateen. Don't know why I didn't actually say this in my post... oops!
DeleteWowza!
ReplyDeleteWow!! That's an incredible dress...so beautiful!
ReplyDelete