It may be the key, but geez it takes time!
It has taken me two weekends of solid effort to get to this point, and people who follow my
Facebook page will have seen the occasional photograph and post... so if you'd like to keep a closer eye on what I'm up to, go over and click Like.
Since I already know this pattern really well, and I've
already drafted the new pieces, the first bit of preparation to do is cutting out the fabric. And when you think about it - thats a lot of fabric! Each coat takes 4 yards (or metres, much of a muchness) of wool outer fabric, the same of lining, and a couple of yards of inter-lining. Thats a lot.
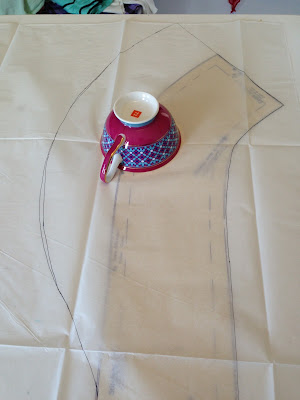
I wasn't drunk, just had to tilt the camera to get it all in...
Here is me laying out the pattern pieces on the black wool. I got all OCD about making sure all the pieces fitted before I cut anything out. The last thing you want when you are dealing with expensive fabrics is to just cut it out and then find that there is one piece you can't fit! I wasn't so worried about the other fabrics because I had 5 yards of each of them, and just 4 of this one, and with the pattern adjustments I was a bit iffy about whether it would fit...
But it was all good, so I got cutting. The only other adjustment I made (which was the same with the red coat) was to make the skirt pieces 1.5" wider on each side to give more fullness to the coat.
Pin ... measure ... draw chalkline ... cut ... label ... put to one side ... repeat. For about 8 HOURS!!!!!
No kidding. I cut fabric for 8 hours. This is the result.
Doesn't look like much does it!
Next job - one of my favourites (not) - sewing the darts. Thank fully there is only 12 darts per coat (6 outer, 6 lining) so it didn't take me that long to do it HOWEVER I did use a new technique that I picked up from Peter at
Male Pattern Boldness to start and finish the darts. I've never been happy using reverse stitch to stop things unravelling, and I'm not a fan of the stop stitch that my machine does for general use, so I'd always been in a bit of a limbo about what to do. Peter posted that he sets the stitch length on his machine to really tiny for a few stitches, and then regular stitch length for the middle bit, then tiny again for the end. And this doesn't unravel! Hurrah!!! So I did that, and it works really well, and I'm going to keep doing it.
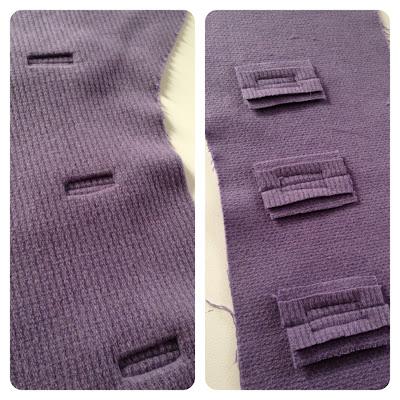
Then it was on to the bound buttonholes. I use
Laura-Mae's tutorial - she's the fabulous blogger from Lilacs and Lace - and I do the extra credit method. This is the same method that I used for the red coat, it really works for me.
I also put 'windows' in the facing pieces so that when I sew the coat together I don't cover up the buttonholes.
I was happy that I'd done all the prep work at this point, so I started sewing the main coat pieces together. There was a bit of a process to this.
I carried all the pieces I required in to my sewing room from the bannister, and put them in piles on the ironing board.
Then I would sew the bits that needed one thread colour, and then the bits that needed the other thread colour. Then to press the seams, because each fabric requires a different iron temperature (sigh!) I would turn the iron down to the lowest setting needed and work my way up to the highest setting. This took a while but was actually really rewarding because I could see that I was getting somewhere!
But then I remembered... POCKETS!
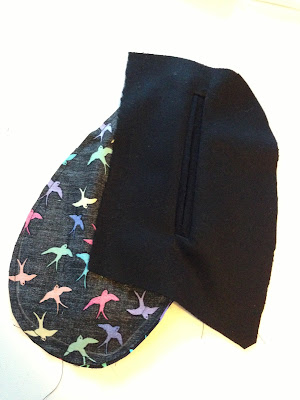
The red coat does not have pockets, because the original pattern does not have pockets, and I find that I just need somewhere warm to put my hands some times. So I wanted to put pockets in these coats to solve that problem. The side seams won't work because the positioning is uncomfortable, and the seams between the fronts and the side fronts is too far forward, so the only option is to put the pockets in the side front piece.
I'm going to do some testing of methods on some scrappy pieces of fabric that I've got left over. I want to make sure I get it right BEFORE I hack into the pieces I've already stitched together!!!
Wish me luck!
Beccie
xxx


