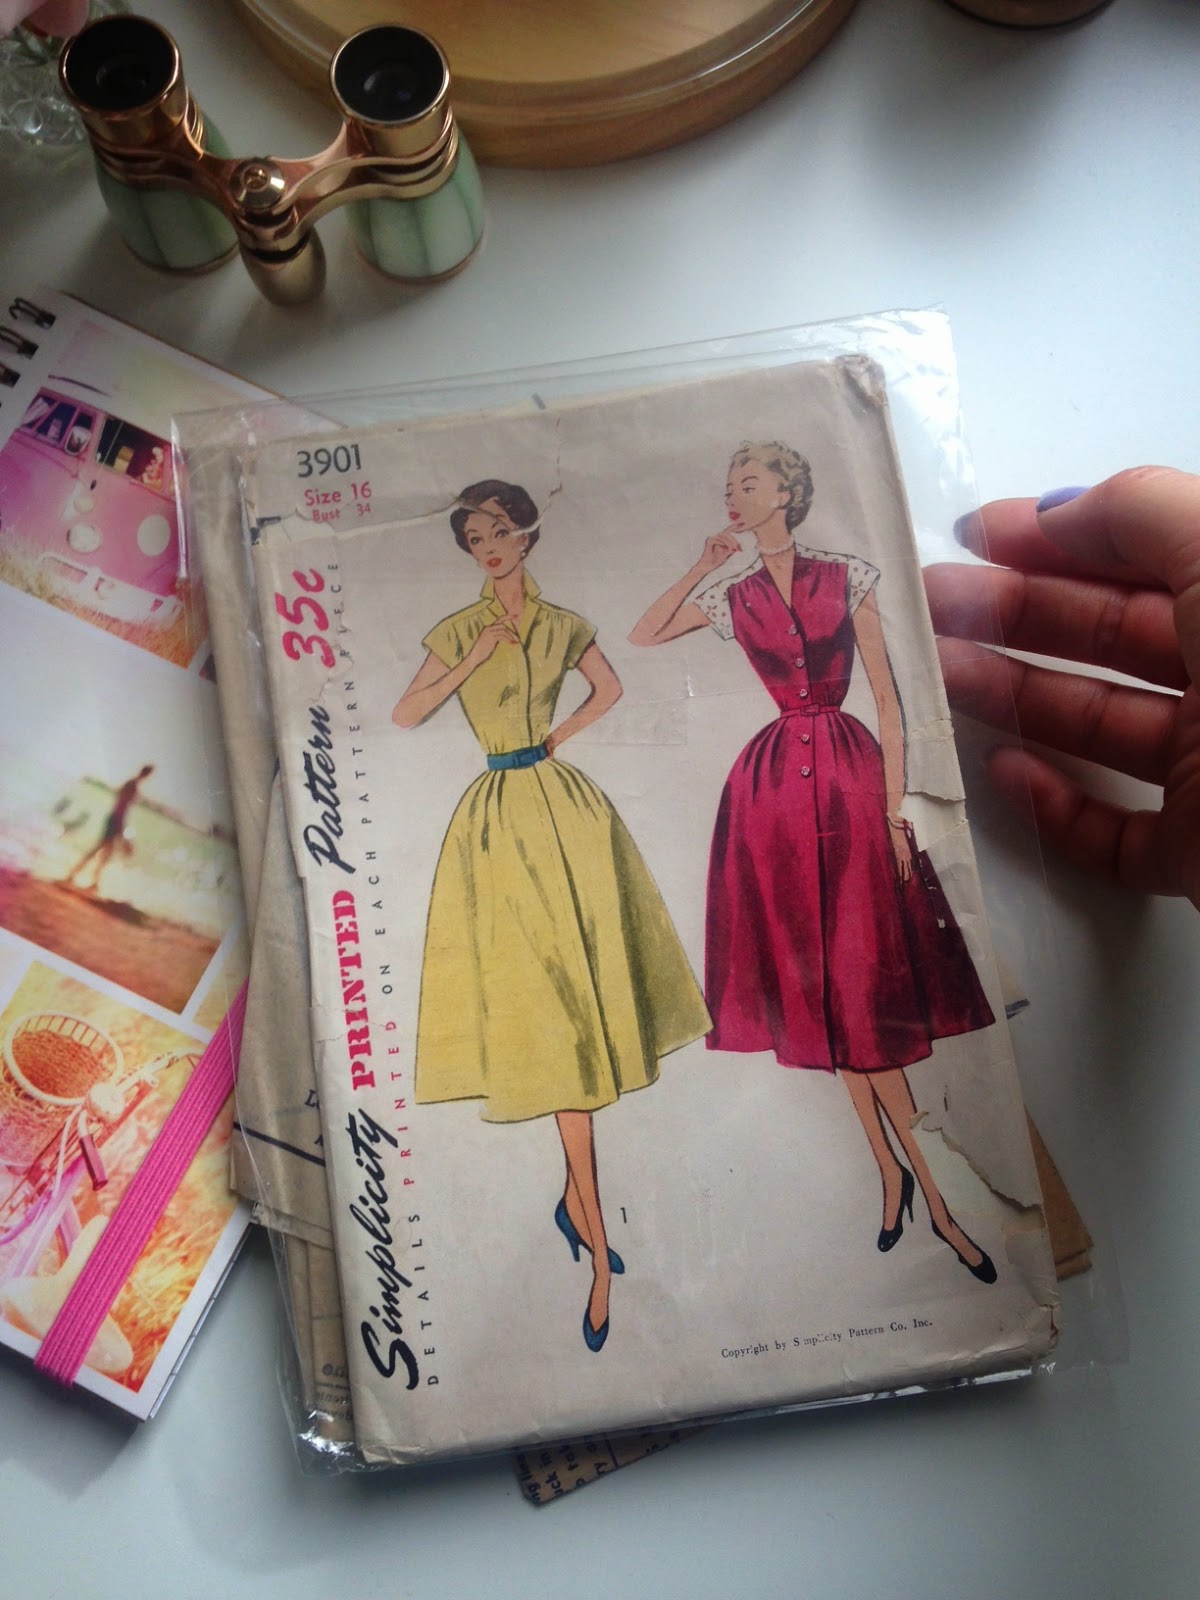
There has been an amazing response to this idea of a travelling pattern - I think the list is in the mid 70s now! I've made my version, so soon the journey will begin.
But first - I better fill you in on my dress.
I have made this pattern (and blogged about it) once before. You can read the final post for that dress here but even then I didn't make it as per the instructions. That time I made it a false button front. This time I decided to have it button all the way from top to bottom, with the buttons exposed - so different to both versions of the pattern.
Here is the fabric I chose:

A fabulous vintage cotton with asian inspired pictures and lanterns. The colour struck me as perfect for a warm summers day - blue can be so cooling!
The other thing I wanted to add was some decorative piping. I picked the (surprise surprise) violet colour from the fabric and made up my own piping. Its so easy, and such a great way to decorate your clothes.

I added piping along the edges of the shoulder/sleeve piece first, and put the bodice together. (By the way, I made new bodice front and back pieces with a 40" bust which will travel with the pattern).


I REALLY LOVE the way that the bias looks on this bodice! It really highlights the design element of the shoulder/sleeve piece!
After adding the facing to the bodice, I moved on to putting the skirt together - and don't you love it when this happens without any planning!?!

By some amazing coincidence my skirt fronts lined up perfectly!!! Same can't be said for the skirt sides or back, but I almost didn't have enough fabric to make the dress at all, so I wasn't going to worry about matching the pattern at the seams. Got to love a happy coincidence though!
Anyway, I added more piping to the waist and sewed the skirt to the bodice.

All that was left was to do the machine button holes and sew on the buttons. I used the spacing of the button markings on the bodice pattern pieces to mark where to put the button holes on the skirt. And instead of putting a button on the waist, I put a trouser hook and eye.
And then for extra credit, I made a matching head scarf! Cause why not!!


Naomi Chambers
Fort Smith, Arkansas, USA
Naomi, I will be in contact shortly. Remember that the Sewsterhood needs you to down tools on your other projects and make this one up as soon as you can. Take lots of photos, write me a story for a blog post, and add your hints, tips, and whatever else you'd like to the notebook. Only when you've finished are you to send the pattern on.
The journey begins!
Beccie
xxx