I wasn't quick enough to buy the dress, but I screenshotted the images so I could drool over the pockets later. They have been described as 'pocket porn'. And I figured, why not share the love and post a pattern and a tutorial so you can make your own!
So here is the pattern - and I remembered to put in a 1" square... HOORAY!!! I have scanned in my A4 paper pattern, so I think you could right click on the picture and save them to your computer, and then print them out.
I have written instructions on the pattern pieces of what to cut. If you don't want to have a different colour for the lining, just cut them all out of the same fabric.
Step One : Pocket Front
Take your pocket front pieces and pair them up right sides together. Sew along the top seam.
Turn the fabric right side out and press. If you want, run a line of top stitching along the fold.
Step Two : Pocket Lining
Next job is to sew the pocket lining pieces together. Now I chose to do mine in chevron stripes but do yourself a favour and choose something plain unless you want to give yourself a headache. Sheesh!
Sew them together down the long side and press open.
I only worried about matching the stripes at the top of the pocket lining, because thats the bit that will be seen.
Step Three : Pocket Back Preparation
These bits aren't sewn together like the pocket lining. Instead, take the pieces to your ironing board and iron the 5/8" seam allowance along that long side to the right side of the fabric.
Step Four : Construction
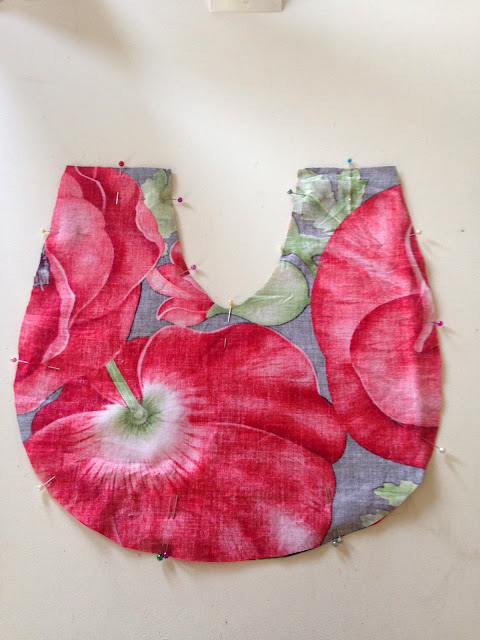
Ok, for this to work when you turn it through, you need to treat the pocket lining and the pocket front as one piece. Lay the pocket lining down and then place the pocket front on top. Pin it together.
This next bit is up to you. I hate that nasty gritty ugh that accumulates in the corners of pockets. This is going to have a deep pointy bit where god knows what could end up. So I am going to sew a line 10" down from the top of the pocket front across the point of the pocket.
Then lay the pocket backs on top and pin them down. Make sure the seam allowance you ironed in is pinned out of the way so you don't sew it in the next step.
Sew the sides together. Start and end your line of stitching on the fold line of each back piece. Don't sew over the opening (ie, sew each side separately). Then clip the corners in preparation for turning it right side out.
Ignore the fact that my seam allowances are folded the other way. Its a bad idea.
Step Five : Turning the Pocket Through
Turning the pocket through and attempting to iron it is really going to make it feel like origami!
Step Six : The Button
I chose to make two large buttons covered in the lining fabric to add to my pockets. They are really quite easy to make! The ones I used were metal and had little teeth to grip onto the fabric - simple!
Regardless of whether or not you make your own button, sew it on now while there is less fabric to deal with.
Step Seven : Attaching the Pocket
This bit is the fiddliest bit of the whole process. This pocket needs to be inserted on a seam line. You can put it so the top of the pocket is in the waist seam, or you can place it further down the skirt.
Flatten the pocket out so the pocket back seam allowances are together, and pin it to the right side of one of your skirt pieces.
Then lay your other skirt piece over the top and pin again - pinning down the length of the seam you need to sew.
I paid really close attention to the points of the pocket at this stage, making sure that they would be in the right place when the seam was ironed flat. Trust me, its worth putting in the extra time.
Then open the skirt out and iron it all flat!
YOUR DONE!!!
I haven't finished the rest of the dress yet to show you what they look like on a finished garment, so instead here is a mock-up so you get the idea.
I hope you like these pockets as much as I do!
Beccie
xxx


